Pool Party Drink: How to Set Up the Best Self-Serve Station
The first pool party where I set up a proper self-serve drink station was also the first pool party where I actually enjoyed myself.
Before that, I was the drinks person. Someone would wander over and ask where the lemonade was. Someone else needed ice. A third person wanted to know if there was anything without alcohol.
I was answering drink questions for four hours while the party happened around me.
A well-designed pool party drink station solves all of that in one setup. Guests help themselves. Cups are obvious. Ice is plentiful. The options are clearly labeled. And you — the host — do not spend your own party pouring drinks for other adults.
This guide covers everything: location, equipment, drinks, ice strategy, labeling, styling, and how to keep the station running, without touching it for four hours.
Why a Self-Serve Station Beats Serving Drinks Yourself
The logic is simple. If guests have to find you to get a drink, they will find you and ask you to get them their drink of choice. If the drinks are clearly set up and everything they need is in one place, most guests will serve themselves without a second thought.
It also means no one goes without. Guests who are shy about asking for things will just quietly help themselves. Guests who want a refill every twenty minutes will handle their own refills. The station does the hospitality work, so you do not have to.
The secondary benefit is visual. A well-styled drink station looks intentional and abundant. It signals that this host thought of everything. That impression is worth more than the effort it takes to set it up.
The Right Location for the Pool Party Drink Station
Location is the decision most people get wrong, and it matters more than almost anything else about the setup.
Keep It Away From the Pool Edge
A drink station right at the pool edge means spilled drinks in the pool, guests reaching for drinks while wet and dripping, and broken glass near bare feet. None of those outcomes is worth the aesthetic convenience.
The ideal spot is close enough to the pool that guests do not feel like they are hiking for a drink — ten to fifteen feet is usually right — but on a stable, flat surface away from the splash zone. A patio table, a folding table against a fence, or a dedicated bar cart all work well.
Shade Is Your Best Friend
Direct sun destroys a drink station. Ice melts in forty minutes. Lemonade turns warm. Anything carbonated goes flat faster.
If your only flat surface is in full sun, buy or borrow a ten-by-ten canopy before the party. They cost under $50, can be set up in fifteen minutes, and will save your entire drink operation.
If you have a covered patio, that is your drink station location. No further discussion required.
One Station or Two
For parties of fewer than twenty guests, one drink station handles everything quite comfortably.
For larger parties — thirty or more — consider splitting into two stations: a non-alcoholic station near the pool that children and families can access freely, and an adult drinks station slightly set back from the main pool area.
Two stations also reduce the line problem. Nothing slows a party down like five people waiting to fill a cup from a single dispenser.
The Equipment List
You do not need anything fancy. You need the right things.
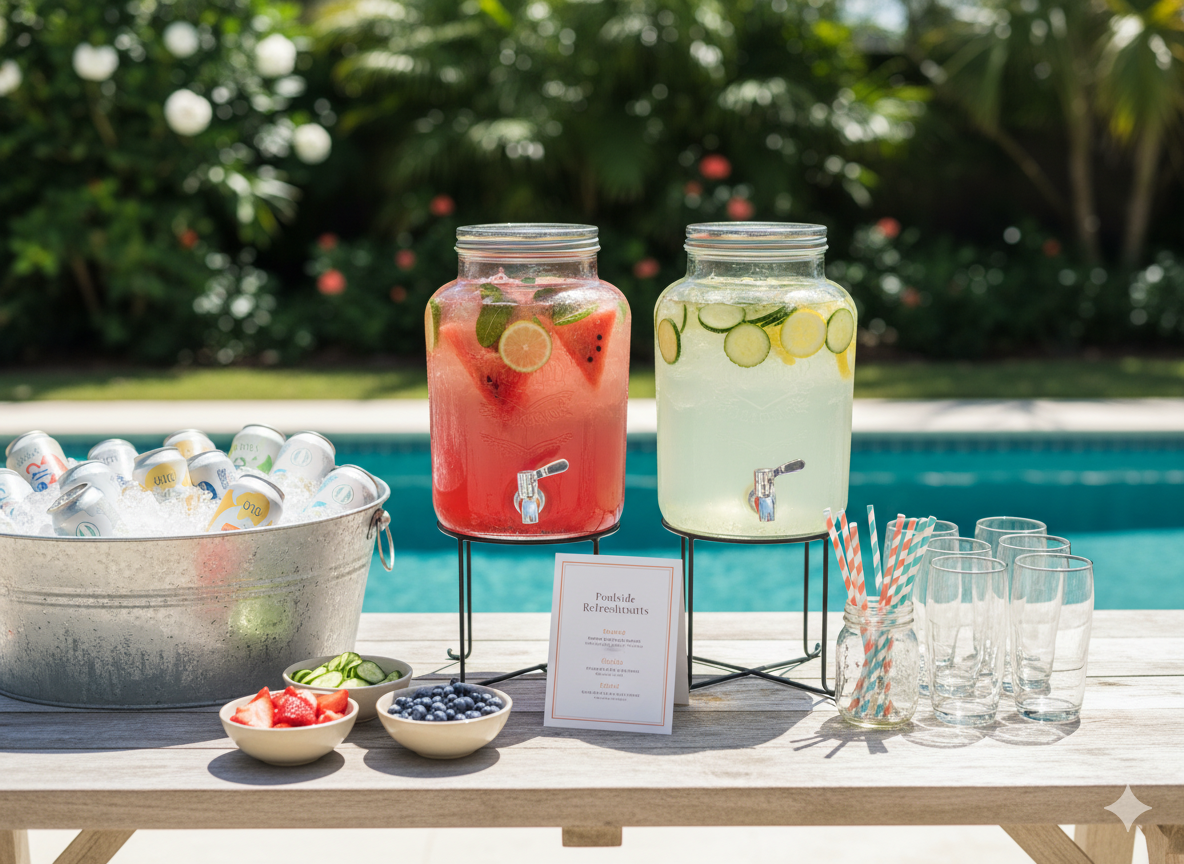
Drink Dispensers
A large glass or acrylic beverage dispenser with a spigot is the backbone of a self-serve station. One dispenser holds roughly a gallon and a half of liquid — enough for twelve to fifteen servings, depending on cup size.
For a party of twenty to thirty guests, have at least two dispensers running at once. Three is better. The visual of multiple dispensers — different colors, different drinks — is also genuinely beautiful on a table.
Wide-mouth dispensers are easier to fill and clean. Elevated dispensers on a small stand let guests hold cups under the spigot naturally without awkward angling.
Ice Situation
Ice deserves its own section later in this guide because most hosts dramatically underestimate how much they need.
For equipment: you want at least one large insulated cooler dedicated entirely to ice cubes for drinks, separate from any coolers holding canned or bottled drinks. A metal or galvanized tub filled with ice for bottles and cans is both functional and beautiful.
A small ice bucket with tongs right at the drink station, refilled from the larger cooler as needed, keeps the operation clean and the traffic away from the main cooler.
Cups
For a pool party, the answer is always reusable plastic tumblers or high-quality disposable cups — never glass anywhere near the pool.
If you use disposable cups, go slightly bigger than you think you need. Eight to ten-ounce cups feel small once guests are hot and thirsty. Twelve ounces is a better minimum for a summer party.
Lay out cups in two stacks — one for adults, one for children. If you have a large party, set cups upside down in a row or fanned out flat so guests can grab without knocking the stack over in the heat.
Straws, Stir Sticks, and Garnish Tools
A cup of paper straws in a small glass jar takes two seconds to set up and looks considered. A pair of tongs for ice. A small cutting board and knife if you are slicing citrus to order — though for a self-serve station, pre-sliced garnishes in small bowls work better.
Cocktail napkins in a weighted holder (so they do not blow away). A small trash container near the station for straw wrappers, used napkins, and empty cans. That ensures guests don’t have to walk a long distance to dispose of rubbish.
What to Serve: Building the Drink Menu
The best pool party drink menu covers four bases: something refreshing and non-alcoholic, something sparkling, something for adults, and something that works for everyone, including children.
The Non-Alcoholic Anchors
These go in the dispensers and should be your highest-volume options because they serve every guest regardless of age, preference, or whether they are swimming or not.
Watermelon lemonade is the single most crowd-pleasing option for a summer pool party. It is visually stunning in a clear dispenser, works for every age, and tastes genuinely great in the heat.
Make it the night before: blend seedless watermelon, strain it, mix with fresh lemon juice, simple syrup, and water. A gallon serves roughly twelve guests.
Cucumber mint water — thinly sliced cucumbers, fresh mint, and cold still water — is the quiet hero of pool party drinks. It looks elegant, it is completely alcohol-free, it stays good in a dispenser for hours, and adults love it as much as children do.
Keep a full dispenser of this running all afternoon.
Fruit-infused sparkling water in a third dispenser bridges the gap between still water and something that feels like a treat. Raspberry and lime. Strawberry and basil. Peach and ginger. These take five minutes to prepare and disappear very fast.
The Adult Options
For alcohol, pitchers and batch cocktails are far more practical at a pool party than individual drink-making. Anything that requires a shaker, measuring, or blending mid-party will slow everything down and put you back in the role of bartender.
Batch these the night before or the morning of and keep them refrigerated until setup.
A white wine spritzer pitcher: dry white wine, sparkling water, and fresh citrus. Light, low-alcohol, suits almost every adult palate. A large pitcher serves eight to ten guests.
A party-size sangria: red or rosé wine with orange juice, brandy, sliced citrus, and a splash of sparkling water added at serving time. Make it twenty-four hours ahead — it genuinely improves overnight.
A batch margarita mix: fresh lime juice, orange liqueur, tequila, and agave syrup mixed in the right proportions and stored in a large pitcher or mason jar. Guests pour over ice and garnish with a lime wedge from the garnish bowl.
Keep batched alcoholic drinks in clearly labeled pitchers or dispensers, separate from the non-alcoholic options. A small printed tent card with the drink name is enough — no guest should have to guess.
The Can and Bottle Cooler
A metal tub or large cooler filled with ice and canned drinks covers everyone who wants something quick and simple.
Beer for adults. Sparkling water cans. Lemonade cans for children. Coconut water for whoever needs rehydrating.
Label the cooler — a piece of cardstock tucked into the ice that reads “Help Yourself” removes the hesitation guests sometimes feel about going into a cooler at someone else’s party.
The Ice Problem (And How to Solve It)
Underestimating ice is the most common mistake made when it comes to self-serve pool party drink stations. The reality is, run out of ice and you have a load of very unhappy guests.
How Much Ice You Actually Need
The standard calculation for parties: plan one pound of ice per guest for drinks, plus additional ice to keep coolers cold.
For a party of thirty on a hot day, you need a minimum of forty to fifty pounds of ice. That feels excessive until you are three hours in and the dispenser ice has melted into lukewarm water.
Buy more than you think you need. Unused ice goes back in the freezer or simply melts outside. Running out of ice at two in the afternoon is a genuinely bad host experience, and there is no fixing it mid-party.
Ice Logistics
Pick up ice in the morning of the party, not the day before. Store it in your chest freezer if you have one, or keep it in a dry cooler in a shaded area until setup.
Keep a full bag of ice in reserve, separate from what is already in use. When the drink station ice bucket runs low, you refill from the cooler. When the cooler runs low, you pull the reserve bag. This three-tier system means you never reach the bottom unexpectedly.
💡 Drink Station Tip: Plan Drinks by Headcount
Not sure how much to make of each drink? The RSVP dashboard inside Splash Bash tracks your confirmed guest count, dietary notes and age breakdown so you can calculate quantities before you shop. No overbuying, no running short. Try Splash Bash free →
Labeling and Signage
A self-serve station only works if guests know what everything is without having to ask you. Clear labeling removes every point of hesitation.
Drink Labels
Each dispenser or pitcher gets a label with the drink name and whether it contains alcohol. Keep labels simple and large enough to read from a few feet away.
Printed cards in small frames look beautiful and take ten minutes in Canva. Handwritten labels on cardstock work just as well.
Use a simple code that is obvious at a glance: a small symbol or colored dot to indicate alcohol-free versus alcoholic. Red dot for alcoholic, green dot for alcohol-free. Parents of young children will thank you.
Allergy and Dietary Notes
If any drink contains a common allergen — tree nuts in a flavored syrup, for example — note it on the label. Most guests will not need this information, but the guests who do will appreciate it enormously.
A Simple Menu Card
A single printed or handwritten menu card listing all the drinks available is optional but genuinely lovely. Position it at the entrance of the drink station area so guests can orient themselves before they walk up.
A menu reduces crowding and makes the whole setup feel more intentional.
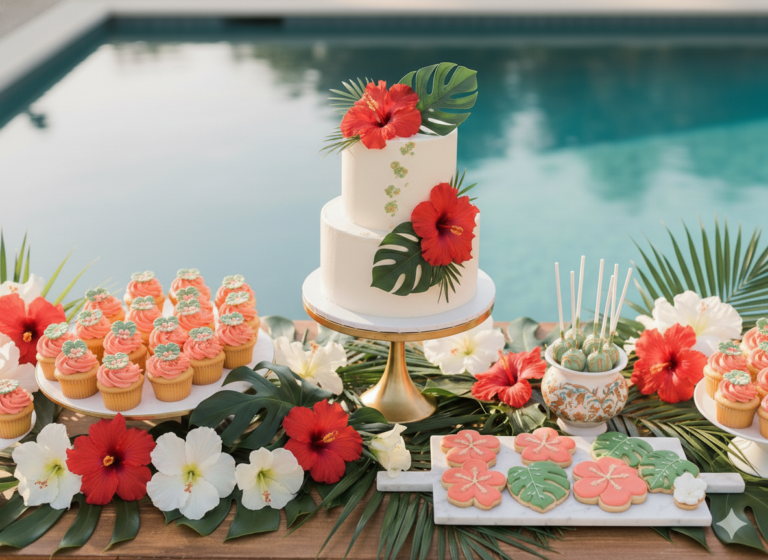
Styling the Drink Station
Function first, always. But once the function is solid, the visual matters — a beautiful drink station becomes a talking point.
Height and Layers
Flat tables look like catering, not hosting. Use height variation to create visual interest. A riser or small wooden crate under one dispenser. A tiered stand for cups and garnishes. A tall vase of fresh flowers at the back corner.
The variation makes the table look styled rather than staged.
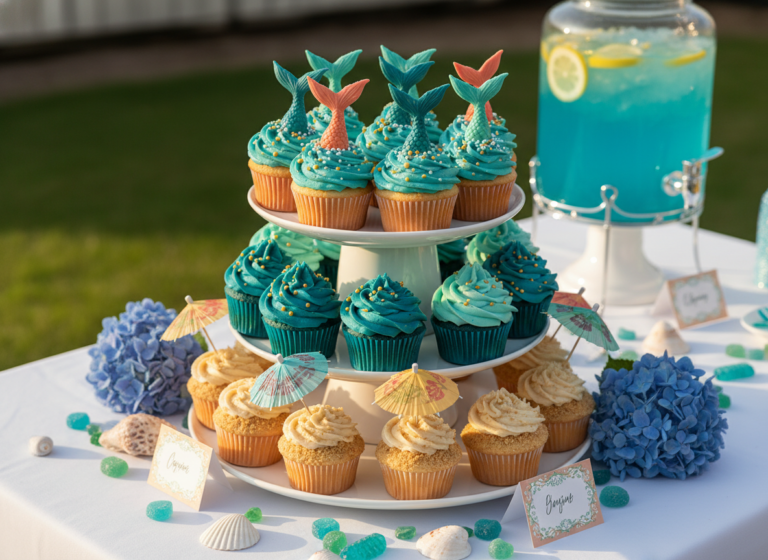
Color Coordination
Your dispenser contents do most of the color work for you. Watermelon lemonade is deep pink. Cucumber water is pale green. Sangria is deep ruby. Line them up, and they look gorgeous without any effort.
Coordinate your cups, straws, and napkins to your party’s color palette rather than buying whatever is cheapest. The cost difference is small, and the visual difference is significant.
Fresh Elements
Fresh fruit as both garnish and decoration ties the drink station to the season. A bowl of whole lemons and limes. A few strawberries scattered near the strawberry water dispenser. A small arrangement of fresh mint.
These decor items cost almost nothing and elevate the entire presentation.
Keep It Tidy Throughout the Party
The drink station needs a five-minute tidy every ninety minutes or so during the party. Empty cups, dripped spigot condensation, used garnish pieces, and straw wrappers accumulate fast.
One quick pass with a damp cloth and a cup reshuffling keeps it looking intentional all afternoon.
Setting Up the Pool Party Drink Station
The Night Before
Make all batch drinks and refrigerate. Slice and prepare any fruit garnishes and store them in covered containers. Set up your table, risers, and decorative elements. Print or write all labels and menu cards. Confirm how much ice you need to pick up.
The Morning Of
Pick up ice. Set up dispensers, cups, straws, napkins, and garnishes. Fill dispensers with non-alcoholic drinks. Keep batched alcoholic pitchers in the refrigerator until one hour before guests arrive.
Do a final check: every dispenser has its label, the ice bucket is full, there is a trash container near the station, and you know where your backup ice is stored.
When Guests Arrive
Pull out the alcoholic pitchers and add them to the station. Give one sweep of the setup to confirm everything looks right. Then walk away and enjoy your party.
The Drinks Station Checklist
Before your first guest walks through the gate, run through this:
- Two or more dispensers filled and labeled.
- One alcohol-free option is always available.
- Batched alcoholic drinks are clearly labeled and separated from non-alcoholic.
- The menu card is posted at the station entrance.
- Garnish bowls filled and labeled.
- Ice bucket with tongs at the station, backup ice stored separately.
- Cups in two sizes — adult and child.
- Straws, napkins, and cocktail picks in holders.
- Trash container positioned nearby.
That is the whole system. Set it up once, check on it twice during the party, and it runs itself.
A pool party should feel effortless for the host. That is the whole point.
Splash Bash helps you plan every detail — including your drink quantities based on your actual guest count and crowd type. Marina, your AI party specialist, builds out your full party plan so nothing gets forgotten and nothing gets over-bought.
Monthly Pass from $9.95. Start planning your next pool party →
Want to enjoy your pool party as much as your guests? Then a self-serve pool party drink station is a non-negotiable. Moreover, you have also elevated the styling of your pool party a few notches by this act.
Everything else — the food, the floats, the decorations, the playlist — is built on top of that foundation. Get the foundation right first.
For the full planning walkthrough: How to Plan a Pool Party: The Ultimate Step-by-Step Guide →
For the complete prep timeline: The Ultimate Pool Party Checklist →
🐬 Let Marina be Your Pool Party Assistant
Your pool party should feel effortless for you as the host — and completely safe and enjoyable for every guest. Splash Bash was built around that belief.
Meet Marina, your AI pool party specialist inside Splash Bash Pass.
🗓️ Guest list and RSVPs tracked in real time
💰 Budget tracking by category, planned vs actual
📣 Theme-matched invitations ready in seconds
📍 Top local vendors found near you via Google Maps
🛡️ Water Watcher assignments and safety checklists built in
☀️ Live weather monitoring with automatic backup plans
🎨 40+ curated themes with menus, décor, and music included
🪄 Paste your messy notes, and Marina organizes them instantly
Onboarding is completely free.